

Presence Sync enables real-time synchronization of agent availability states between CXone and ServiceNow. When configured, changes to an agent's presence status in one platform are automatically reflected in the other, ensuring consistent routing and visibility across systems.
Prerequisites
-
You have Tenant Manager (TM) user credentials with administrative privileges.
-
You have access to CXone UserHub with the ability to manage roles and permissions.
-
IHF (Integration Hub Framework) connectors are created and configured.
-
You have administrative access to the ServiceNow instance.
Enable Presence Sync License and Permissions
Activate the Presence Connect License
-
Sign in with your Tenant Manager (TM) user credentials.
-
Navigate to Connection Hub and enable the Presence Connect License.
 View image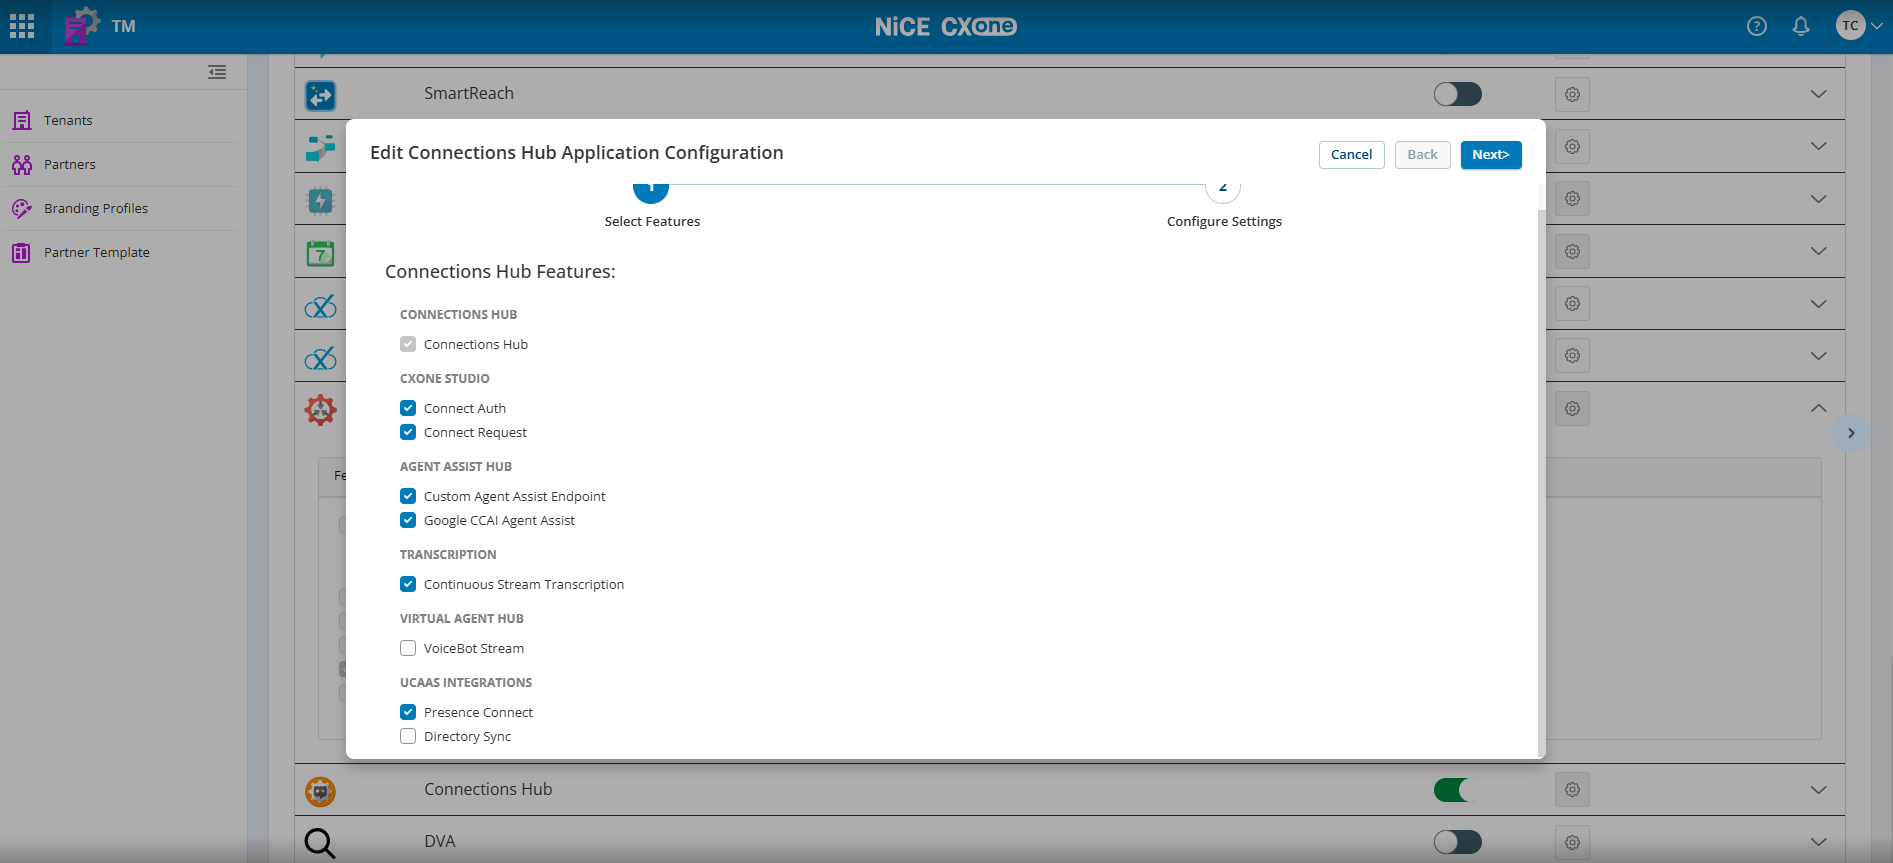
Assign Required Permissions
-
Navigate to UserHub > Applications > Roles and Permissions.
-
Under the ACD section, enable the following permissions for your role:
Permission Source Agent Session Control Via API ACD ImpersonateAgent: View
ACD User: View Admin Teams: View Admin Role Management: Search Admin Impersonation Management: View Admin -
Under Roles and Permissions > Connections Hub, enable the Presence Connect permissions.
-
Sign out and sign back in for the changes to take effect.
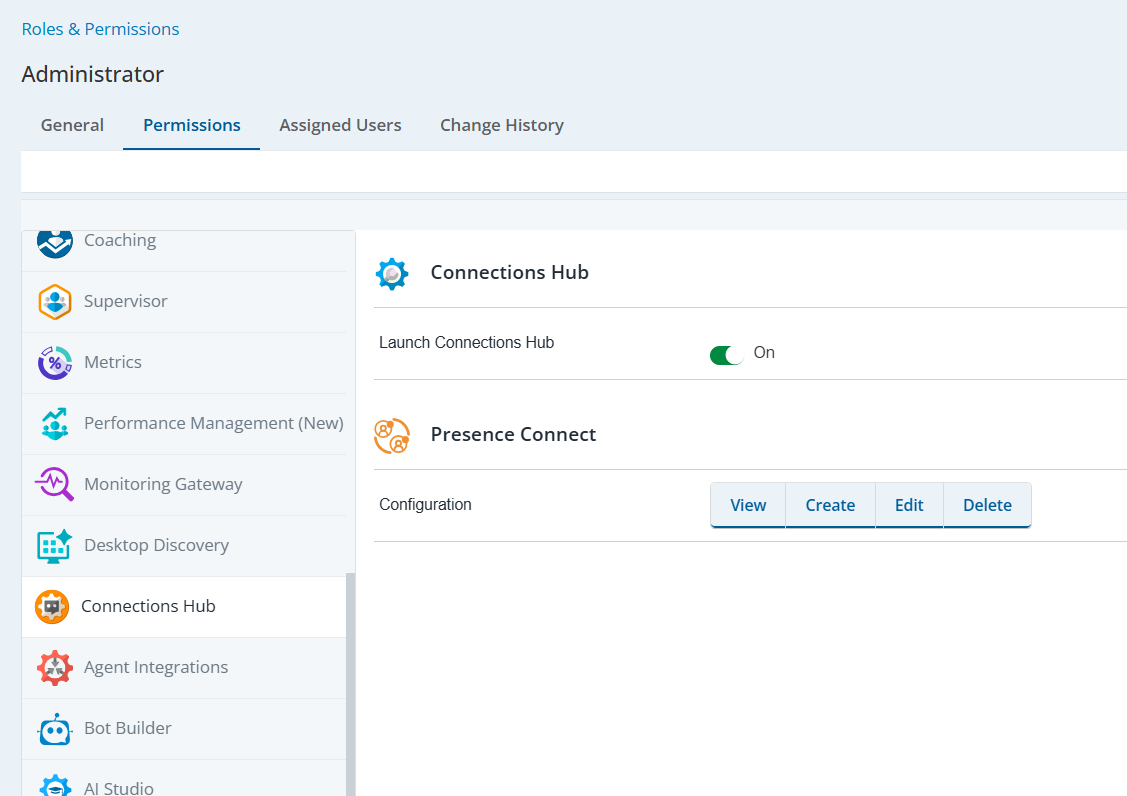
Onboard the Tenant for Presence Sync
Tenant onboarding registers your CXone business unit with the Presence Connect service for ServiceNow integration.
-
Navigate to Connection Hub > UCaaS Integrations > Presence Connect.
-
From the Platform dropdown, select ServiceNow.
-
Select the user and click Save.
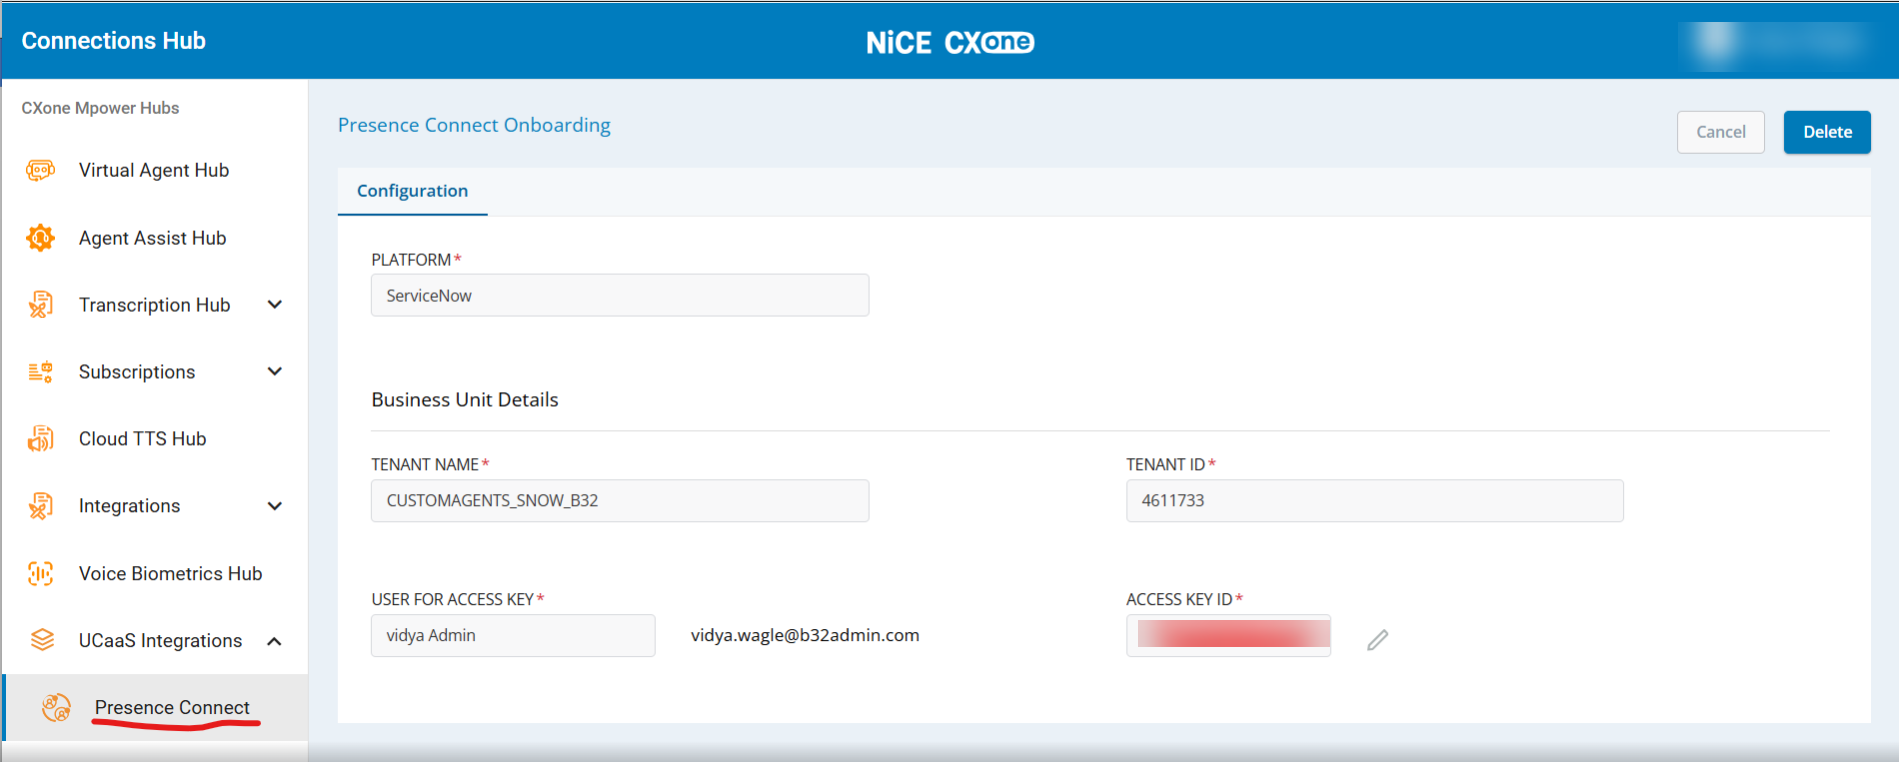
-
Do not delete the tenant onboarding entry unless absolutely necessary. Deleting the onboarding configuration causes presence sync to fail for all users in that business unit (BU).
-
This is tenant-level onboarding, not user-level. Once a tenant is onboarded, all users under that tenant are automatically included.
-
Only one onboarding call is required per tenant.
Add Presence States in ServiceNow
Define the presence states in ServiceNow that will map to CXone agent states during synchronization.
-
In the ServiceNow instance, navigate to All and search for Presence States.
-
Click New to create a new presence state.
-
For work-receiving states (such as Available, Working, Refused, and WrapUp):
-
Under Service Channels, move NiCE_Phone_Channel (and/or Chat) to the selected list so interactions route to available agents.
-
-
In the Apply to groups field, select the agent groups that have access to this presence state. To make the presence state available to all user groups, select the Apply to all groups check box.
-
Select Submit.
-
These all states should be displayed in the Presence sync config which is explained in below steps.
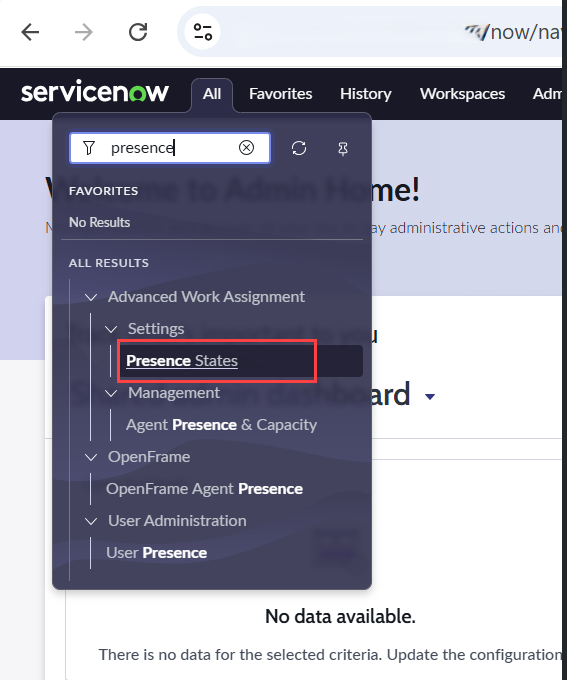
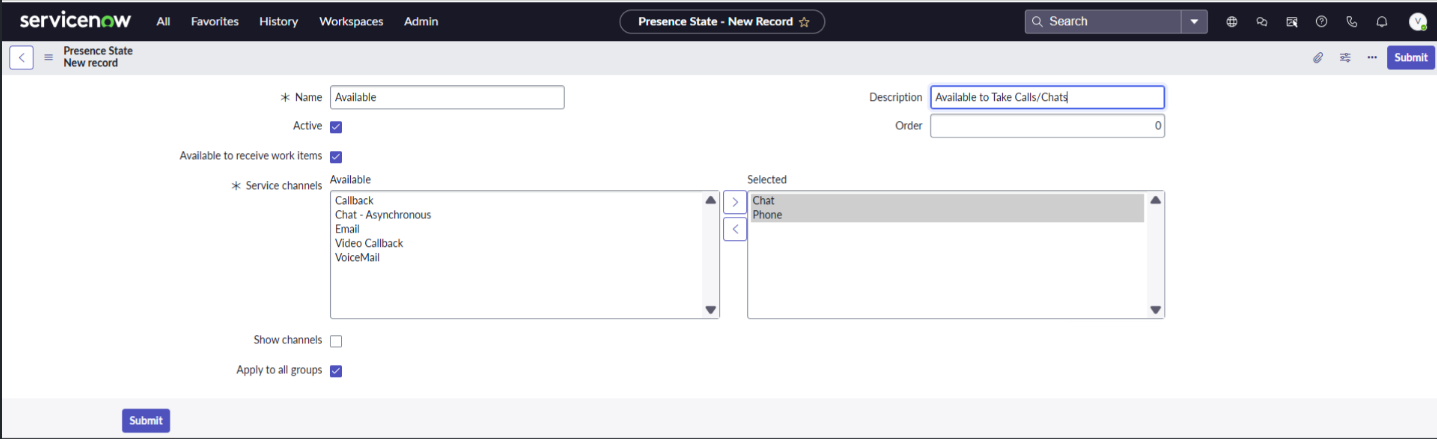
-
Work-Receiving States: All operational states (Available, Working, Refused, WrapUp) must have Available to receive work item checked.
-
Unavailable Codes: Default unavailable and custom unavailable reason codes must have Available to receive work item unchecked.
-
Unavailable Custom Codes: These correspond to custom break reasons (such as Lunch, Break, or Meeting) configured in CXone under ACD > Unavailable Codes.
Select an Environment for Presence Sync Mapping
In multi-organization environments, identify and select the specific ServiceNow organization before configuring presence state mapping rules.
-
In CXone UserHub, navigate to Connections Hub > Custom Integrations > Servicenow.
-
Select the Presence Sync Mapping tab.
-
Locate the Environment dropdown selector at the top of the interface.
-
Select the same target environment from the dropdown list.
-
After the environment is selected, review the presence sync mapping grid and continue creating the rule mapping ACD states to ServiceNow states.
Configure Presence Sync Rule Mapping
Create the presence sync rule that defines how agent states map between CXone (Publisher) and ServiceNow (Subscriber).
Before You Begin
-
Confirm that IHF connectors are created. If connectors are not configured, an error is displayed when you attempt to create a rule.
Create the Rule Mapping
-
Navigate to UserHub > Application > Connections Hub > Custom Integrations> Servicenow> Presence Sync Mapping . The page is empty if no rule has been created previously.
-
Select the target ServiceNow Environment/Organization from the Environment dropdown.
-
Click Create New Rule to add a new rule mapping.
-
Ensure that IHF connectors are created beforehand before proceeding with Presence Sync rule creation. Otherwise, an error will be displayed on the screen.
-
Map the presence states on the Publisher (CXone) and Subscriber (ServiceNow) sides:
Side Mandatory States Publisher (CXone) Available, Unavailable, ACW, Refused, Working Subscriber (ServiceNow)
Available -
Rule Name is a required field; the form cannot be saved unless it is populated.
-
Click Save.
If the Save button is disabled, verify that all required fields are completed. The API may also return an error if mandatory state mappings are missing.
-
Only one Presence Sync rule is supported per ServiceNow instance/organization within the business unit.
-
After creation, a rule cannot be edited. You can only view or delete it.
-
To modify a rule, delete the existing rule first and then create a new one.
-
Only one Presence Sync rule is supported per business unit. After creation, a rule cannot be edited; you can only view or delete it. To modify a rule, delete the existing rule first and then create a new one.
-
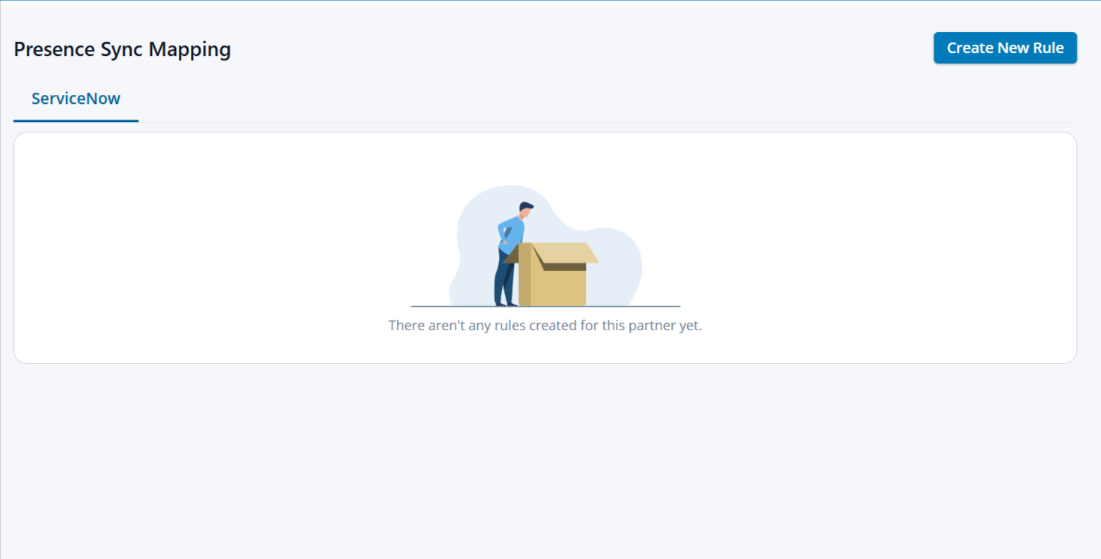
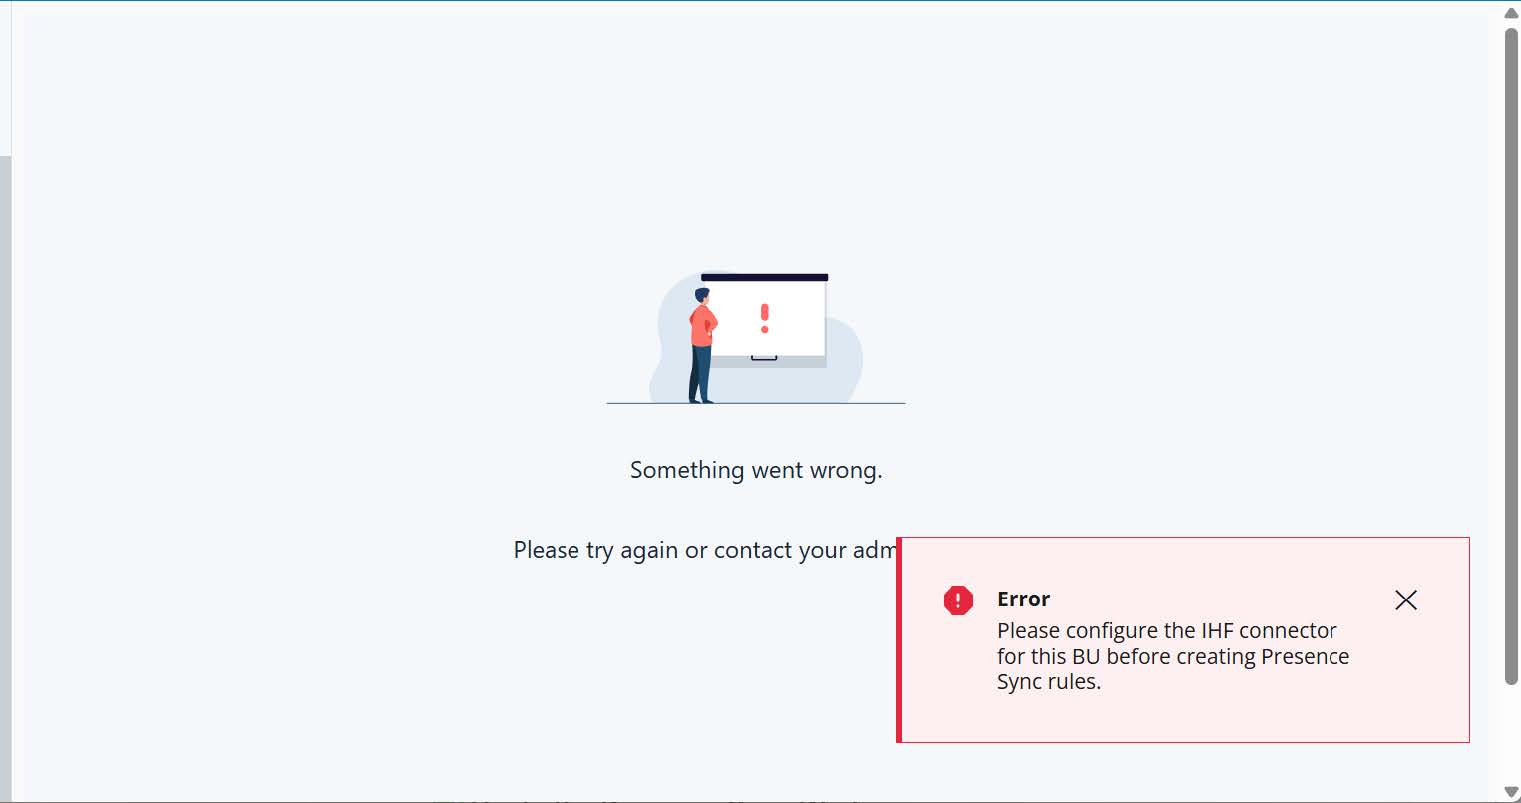
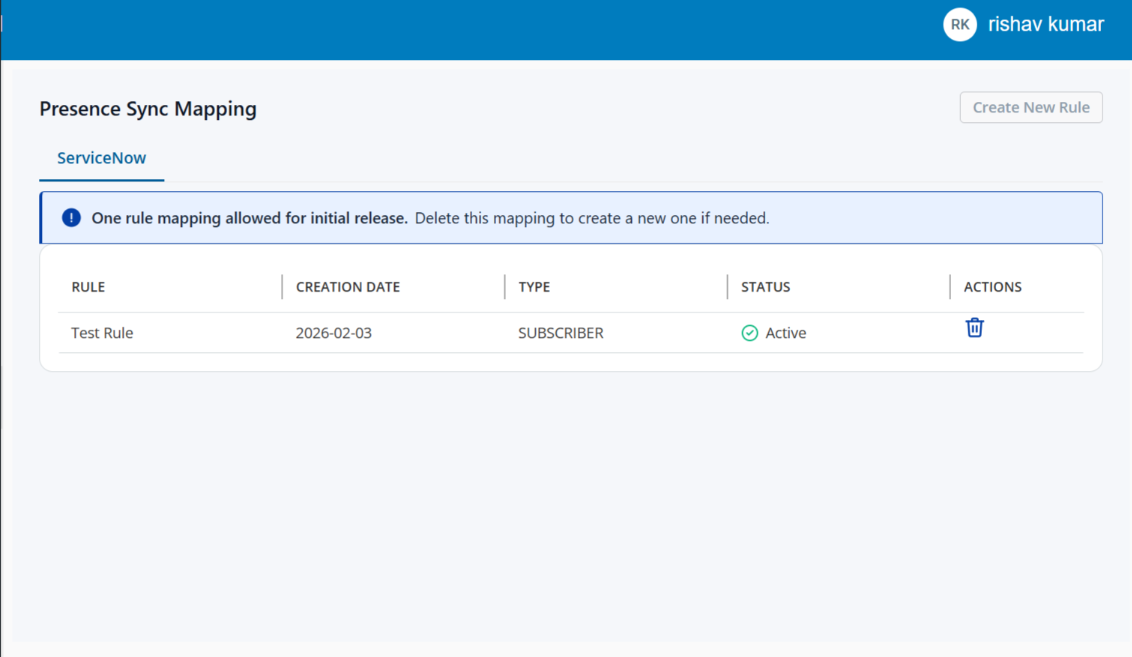
Verify Presence Sync
After you complete the configuration, verify that presence states synchronize correctly between CXone and ServiceNow.
-
Sign in to the CXone Agent (CXCA) for ServiceNow.
-
Confirm that the agent status changes to Offline (mapped to Unavailable) upon login.
-
Change the agent's status in ServiceNow and verify that the updated status is reflected in the CXone Supervisor view.
If the status does not synchronize, verify that the tenant onboarding is active, the IHF connectors are healthy, and the presence sync rule includes all mandatory state mappings.