Handling Email-to-Case with NICE Unified Routing in Salesforce Voice
This section describes how to manage inbound Email-to-Case work items routed through NICE CXone Unified Routing in Salesforce Voice (SFV) and Enhanced Omni-Channel.
With NiCE CXone Unified Routing, customer emails created through Salesforce Email-to-Case are evaluated by the CXone routing engine and distributed to agents based on configured skills, availability, priority, and current workload across voice and digital channels. Routed email work items are delivered directly to the Omni-Channel widget in Salesforce, enabling agents to efficiently manage customer communications from a single workspace.
Prerequisites
Before you begin, ensure you meet the following requirements:
-
You have active credentials and access to the Salesforce Lightning Service Console.
-
Your Salesforce user profile includes permission sets for Salesforce Voice (SFV) and Omni-Channel.
-
Your agent profile is assigned the appropriate NICE CXone skills for digital email handling.
Handling an Inbound Email-to-Case
Accept the Incoming Email
-
Log in to Salesforce.
-
Set your status to Available.
-
When an Email-to-Case work item is assigned to you, an alert card appears in the Omni-Channel widget.
-
The alert card displays the case number and case details, and provides Accept and Reject options.
-
Click Accept to open the associated case record.
-
When you accept an Email-to-Case work item, ownership of the associated case is assigned to you. For example, if the case was previously assigned to a queue, the case owner changes from the queue to your user account.
-
When you reject an Email-to-Case work item, the ownership of the associated case remains unchanged. If the case was originally assigned to a queue, it continues to remain assigned to that queue and is not assigned to you.
-
Create a New Case Manually
-
Navigate to the Case tab.
-
Click New.
-
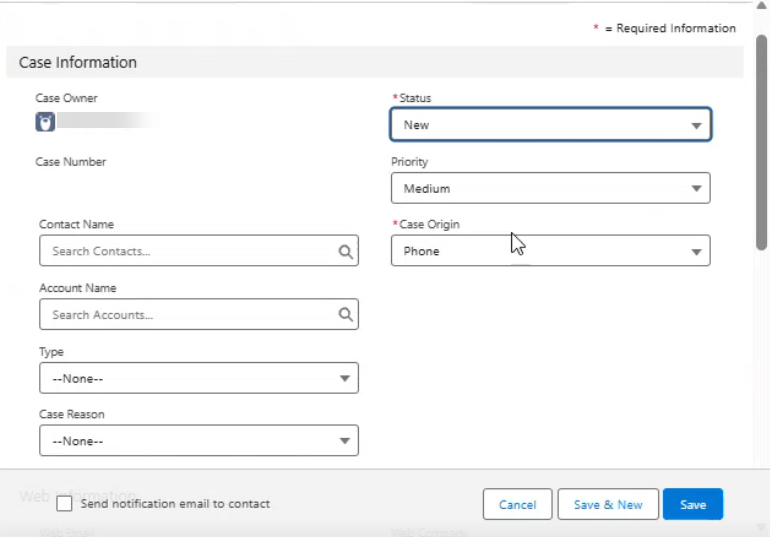
Select the appropriate case origin, such as Phone, Email, or Web.
-
Complete the remaining required fields and save the case.
 View image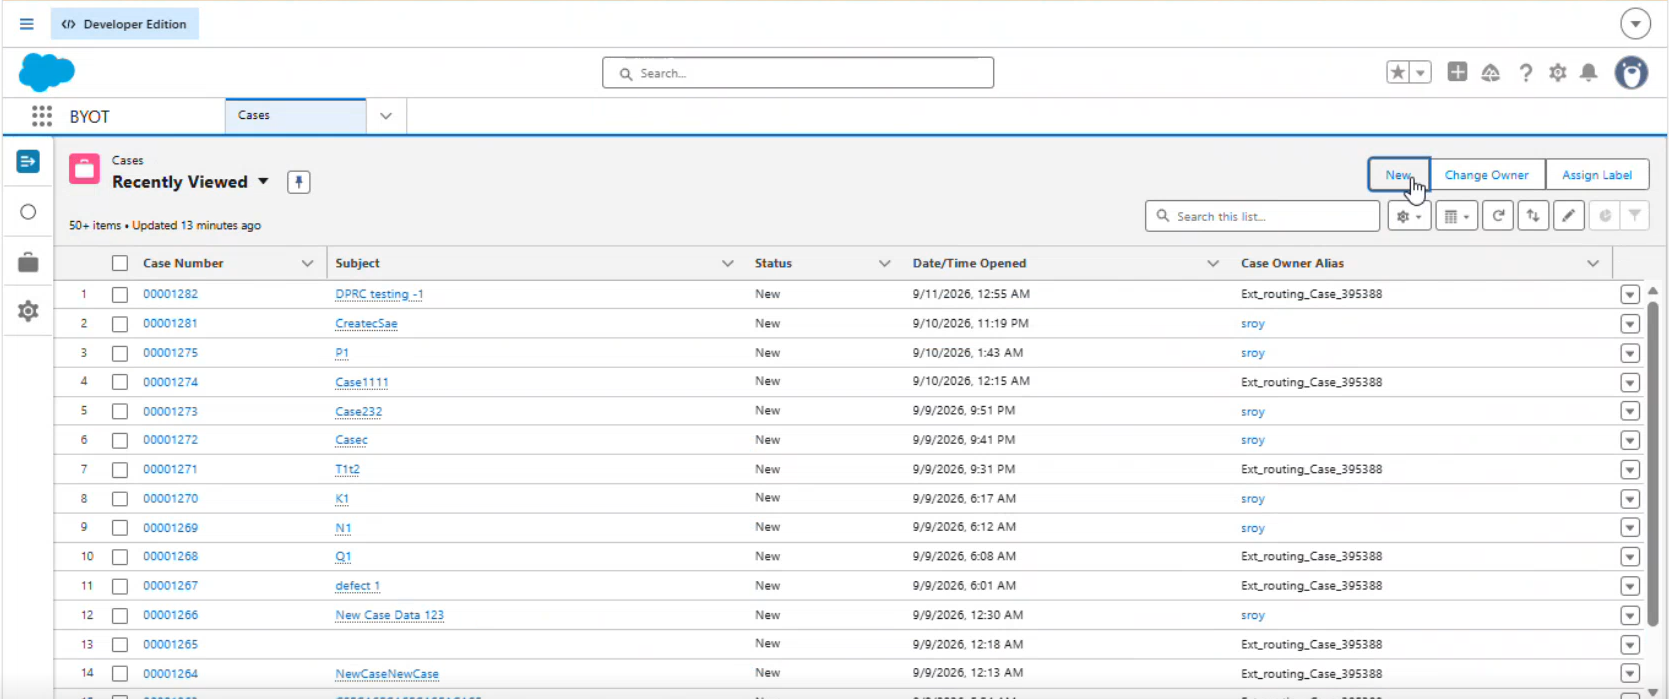
Manual Case Assignment
For cases that are created manually, you must assign the case to a queue before a work item can be routed to an agent.
-
Open the case record.
-
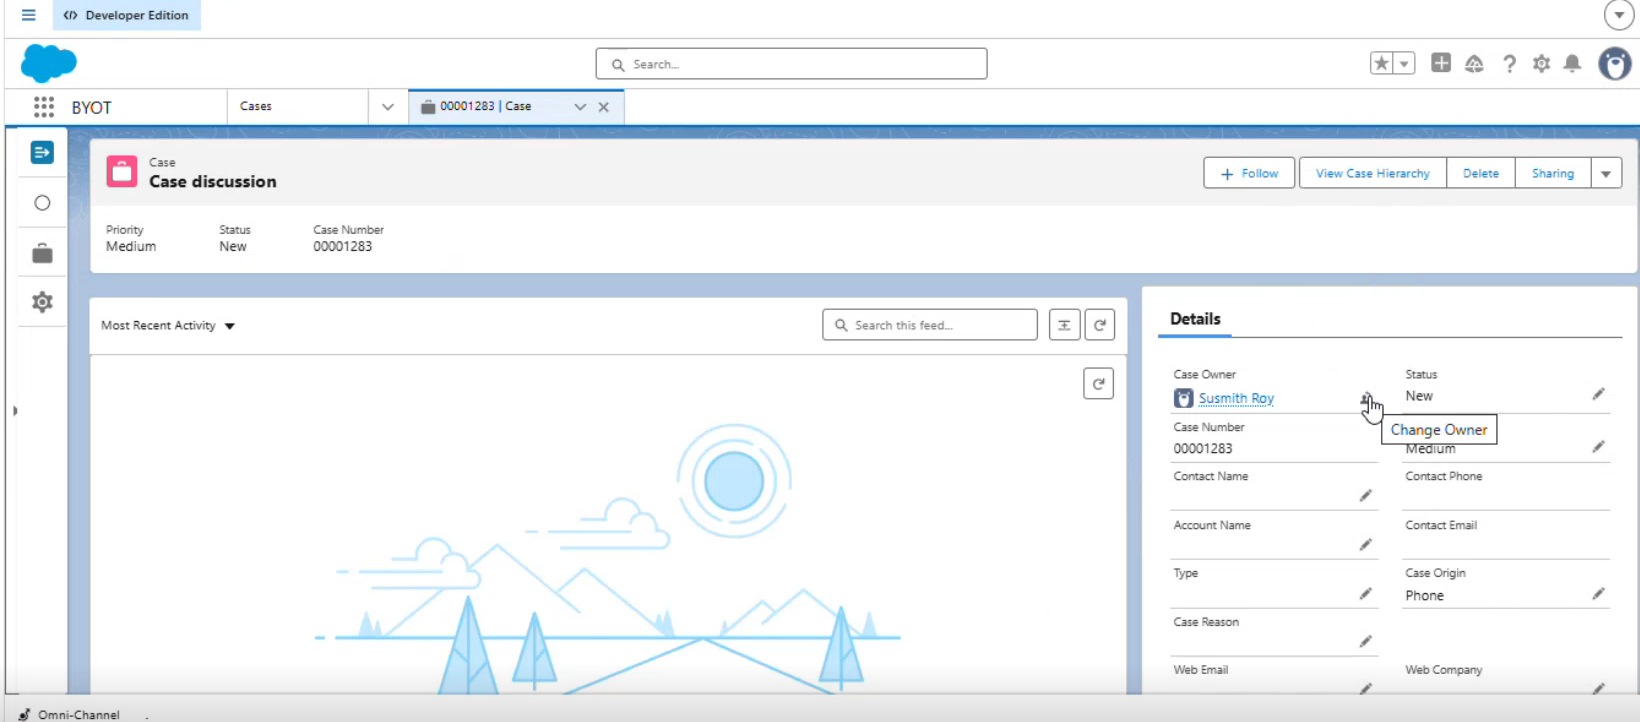
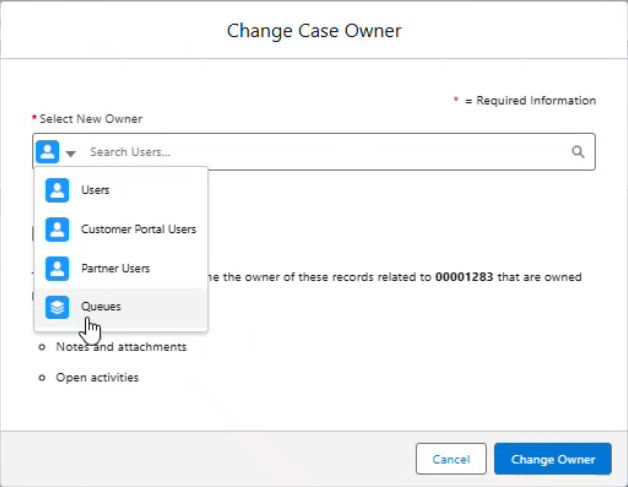
In the Case Owner field, click Change Owner.
-
Select Queue as the owner type.
-
Salesforce supports assigning a case to either a User or a Queue.
-
-
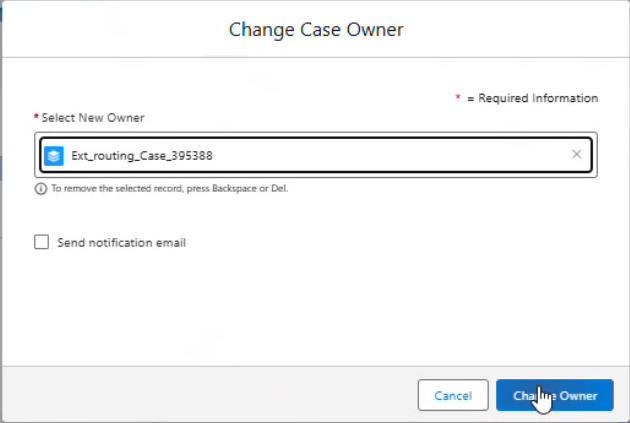
Select the appropriate queue.
-
The queue must already be configured in Salesforce.
-
The queue is associated with the corresponding NICE skill.
-
-
Click Change Owner.
When a manually created case is assigned to a queue for the first time, Salesforce creates an associated work item and routes it according to the configured routing rules.
Accept or Reject the Routed Work Item
When the work item is routed to an agent:
-
An alert card appears in the Omni-Channel widget.
-
The alert card displays information such as the case number and case summary.
-
Click Accept to accept the work item and open the case.
-
Click Reject if you cannot handle the case.
Depending on the routing configuration, a rejected work item can be routed to another eligible agent.
- If a work item is accepted, ownership is assigned according to the routing and assignment configuration. The work item may be assigned to the current agent or another eligible agent based on the configured rules.
Email-to-Case Behavior
For Email-to-Case records, agents do not need to manually change the case owner to create a work item.
The Email-to-Case configuration determines the case owner automatically. When an email creates a case, Salesforce assigns the case to the configured owner or queue and creates the associated work item based on the Email-to-Case setup. The work item is then routed to an available agent through Omni-Channel.
- Manual case-owner changes are required only for manually created cases. For Email-to-Case records, ownership and routing are handled automatically by the Email-to-Case configuration.
Review the Case Record and Customer History
-
Upon accepting the workitem, Salesforce automatically opens the associated Case record in a workspace tab.
-
In the Case Feed, review the incoming email message, attachments, and prior conversation history.
-
Review the linked Contact and Account details in the subtabs or side panels.
-
In the Case record, navigate to the Email action in the publisher or feed.
-
Select Reply or Reply All on the email message.
-
Verify that the To and Cc address fields are correct.
-
In the email body, enter your response. You can use standard Salesforce productivity tools:
-
Select Insert template to apply an approved email template.
-
Use Quick Text to insert predefined text snippets.
-
Select Attach File to add relevant attachments or knowledge base articles.
-
-
Select Send.
Delete a Work Item
-
Open the case associated with the work item.
-
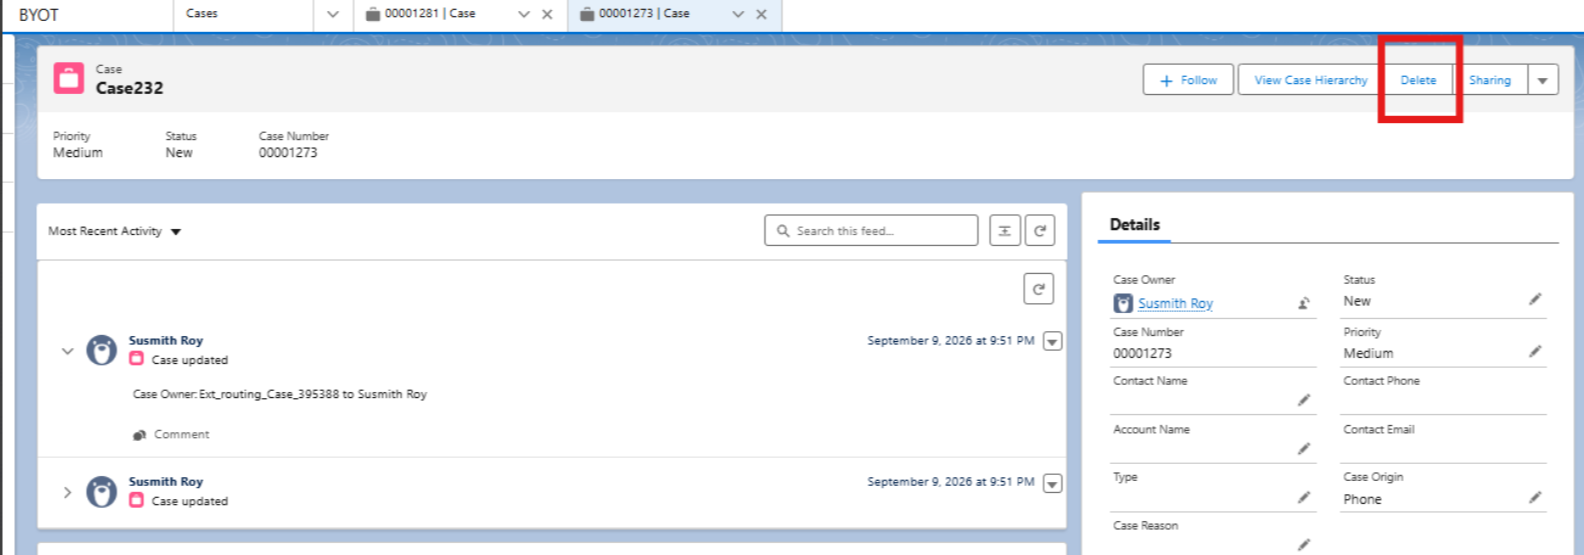
On the case record page, click Delete.
Salesforce deletes the case record.
- When a case is deleted, the associated persistent work item is automatically closed. The work item is no longer available for agent processing.