

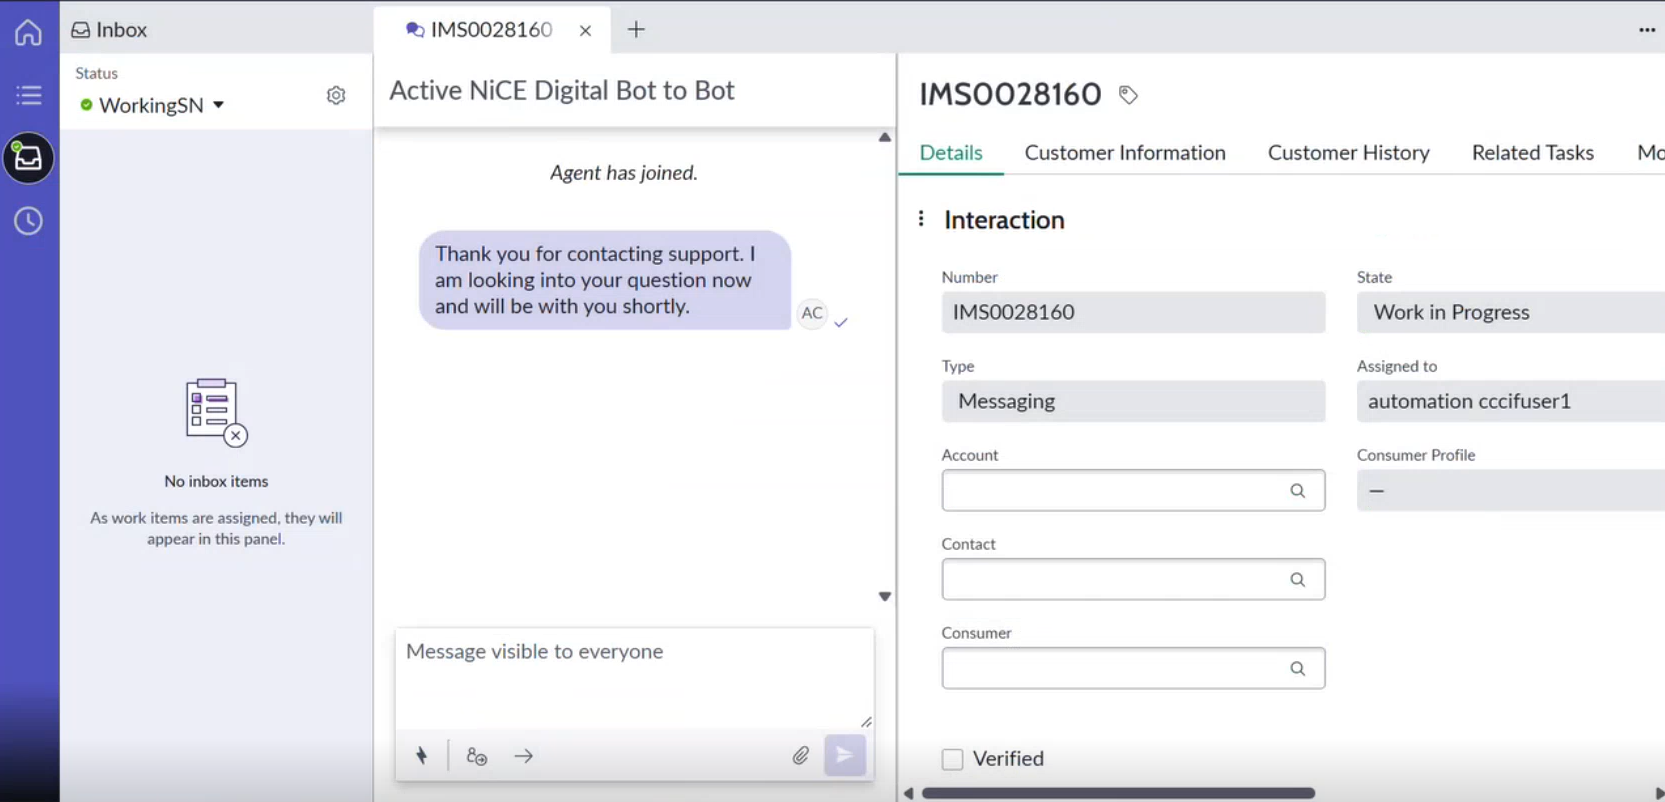
You can handle chats in Unified Agent Workspace for ServiceNow if your administrator enables them. Chats assigned to you appear in your Inbox  .
.
Answer Inbound Chats
-
Launch and log in to Unified Agent Workspace for ServiceNow.
-
In the left menu, click Inbox
. -
Set your Status to Available.
-
When a chat appears in your inbox, click Accept.
A ServiceNow Interaction record appears. If you close the record, click the phone icon
 in the top menu and select Open interaction to reopen it.
 -
Draft your response in the response field at the bottom.
-
Press Enter on your keyboard or click Send
 .
.
Transfer Chats
You can transfer chats to other agents. If you don't know who to transfer the chat to, you can transfer it to a queue. The chat is then assigned to an agent with that queue.
Transfer Chats to Other Agents
-
During a chat, click Transfer to Agent
 .
. -
Select the agent you want to transfer the chat to. A command beginning in /ta, followed by the agent's ID in question marks, appears in the response field.
-
Press Enter on your keyboard or click Send
.
Transfer Chats to Queues
-
During a chat, click Transfer to queue
 .
. -
Select the queue you want to transfer the chat to. A command beginning in /tq, followed by the queue's ID in quotation marks, appears in the response field.
-
Press Enter on your keyboard or click Send
.
Transfer Attachments
-
During a chat, click the attachment icon
 .
. -
Select the file to attach, and then click Open.
Monitor conversation insights
During the conversation, the side panel displays:
-
Copilot suggestions
-
Legal Disclosure information for AI-generated content
-
Customer Sentiment status
Use Response Templates
Response templates are pre-written replies you can select and send to contacts The person interacting with an agent, IVR, or bot in your contact center..
-
During a chat, click Quick Actions
 . If quick actions aren't available to you, enter /r in the response field.
 -
Select the response template you want to send. A command beginning in /r, followed by the response template's ID in quotation marks, appears in the response field.
-
Press Enter on your keyboard or click Send
.
Close Chats
-
Click Leave Chat in the upper-right corner of the conversation.
-
In the Wrap-up window, select a wrap-up code.
-
In the Notes field, enter any relevant notes.
-
Click Submit & Close.